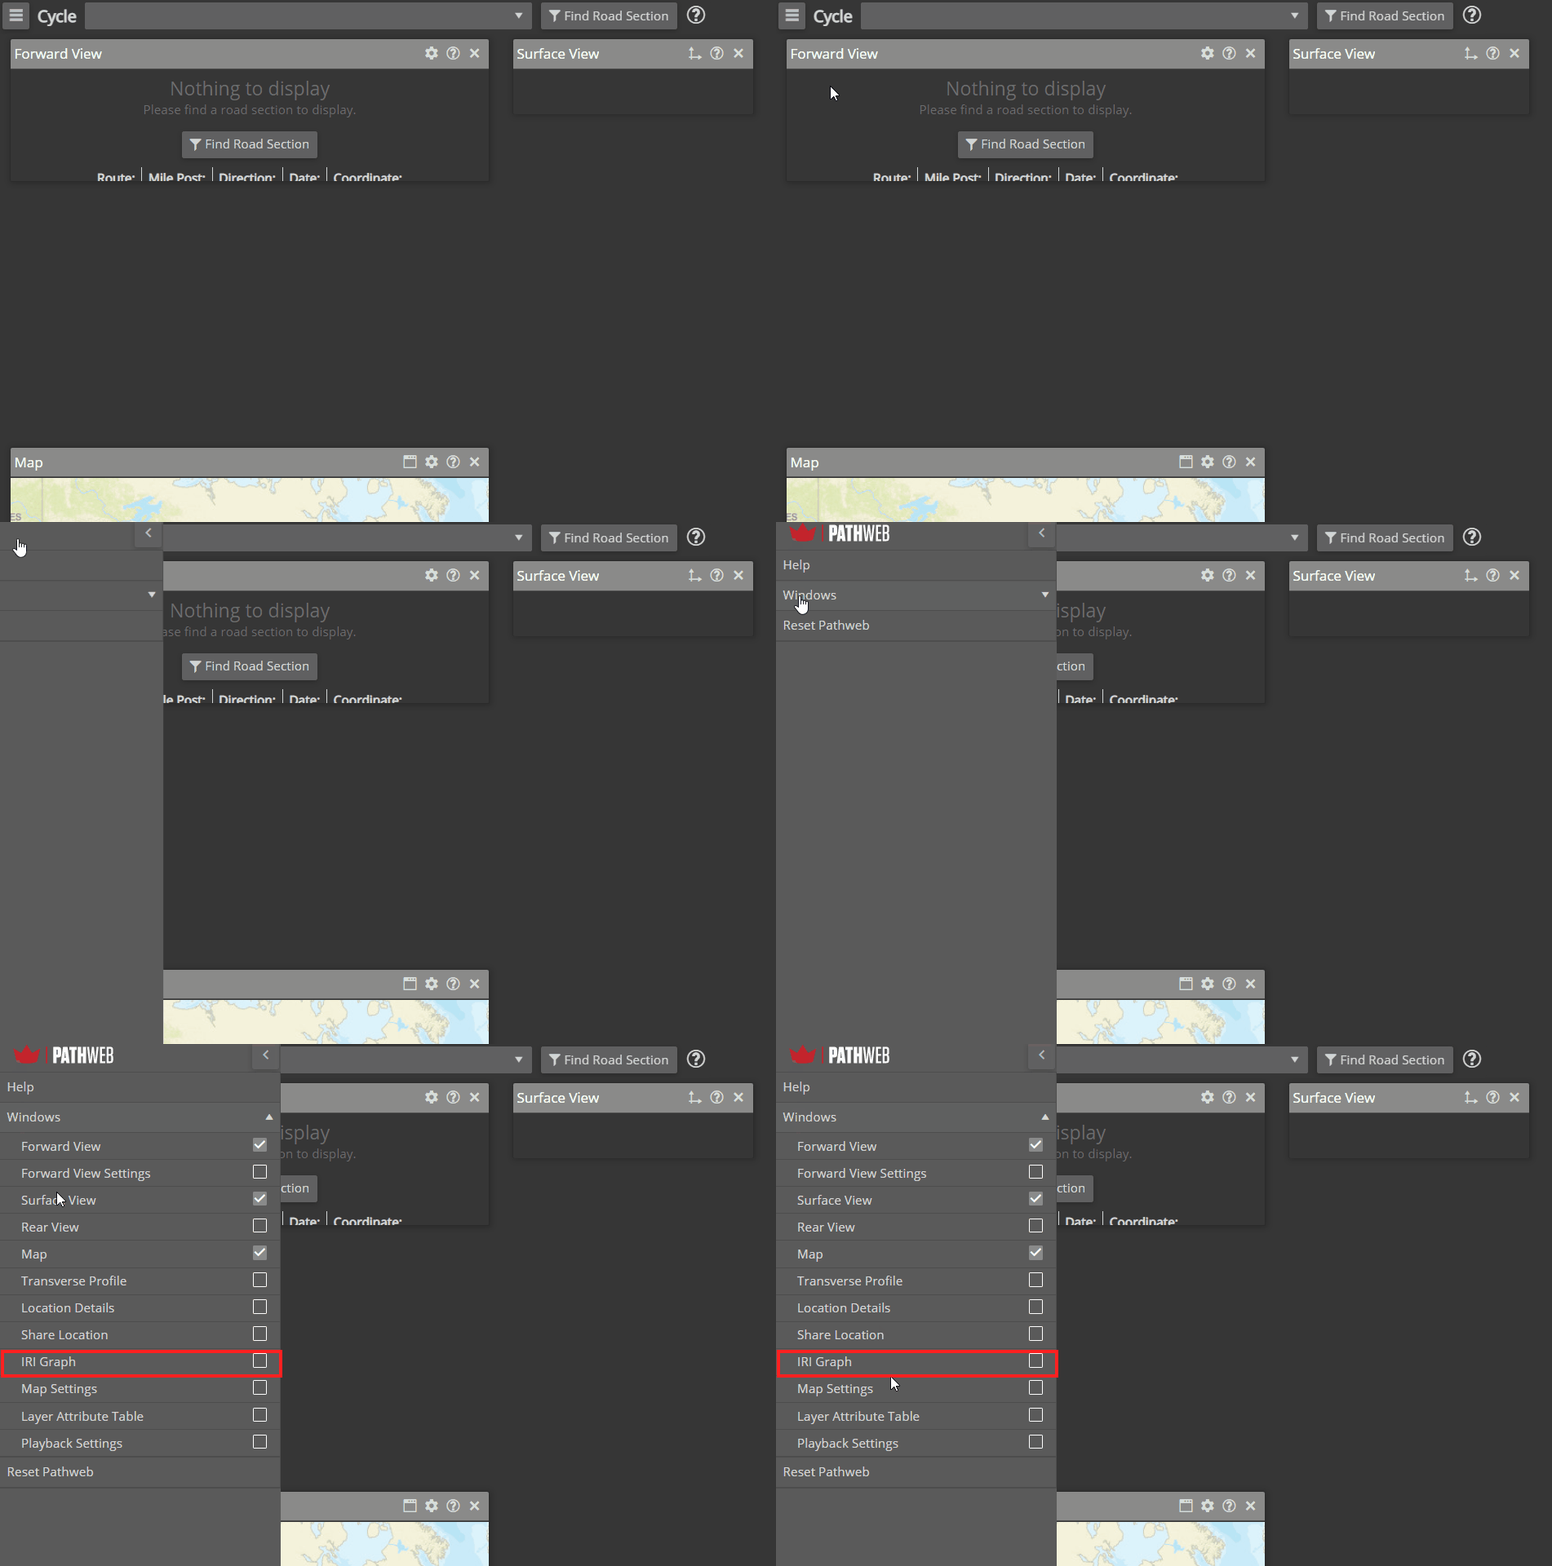

After you select a route, you can start looking at images and other data.
PathWeb has many windows you can open, close, move around, and resize. These windows display different things, and they function very similarly to the way windows do on a desktop computer. To see what windows you have available, click on the window button toward the bottom of the screen:

This will open up the window section in the sidebar:
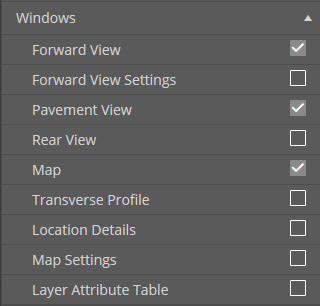
Feel free to arrange your windows however you like by moving them around, resizing, etc.
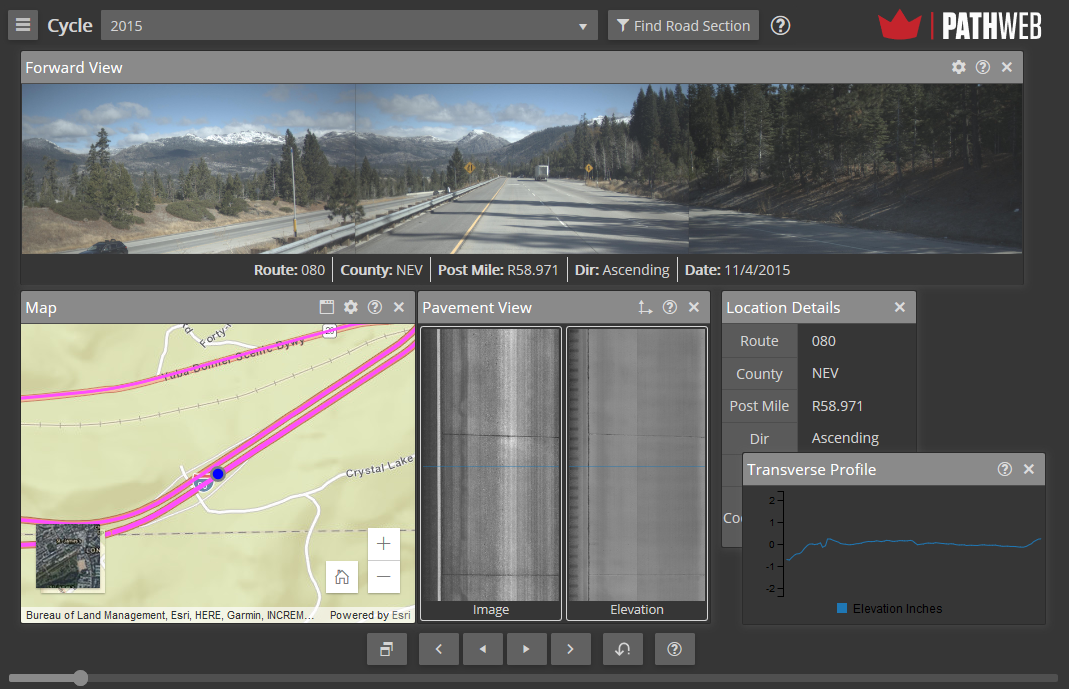
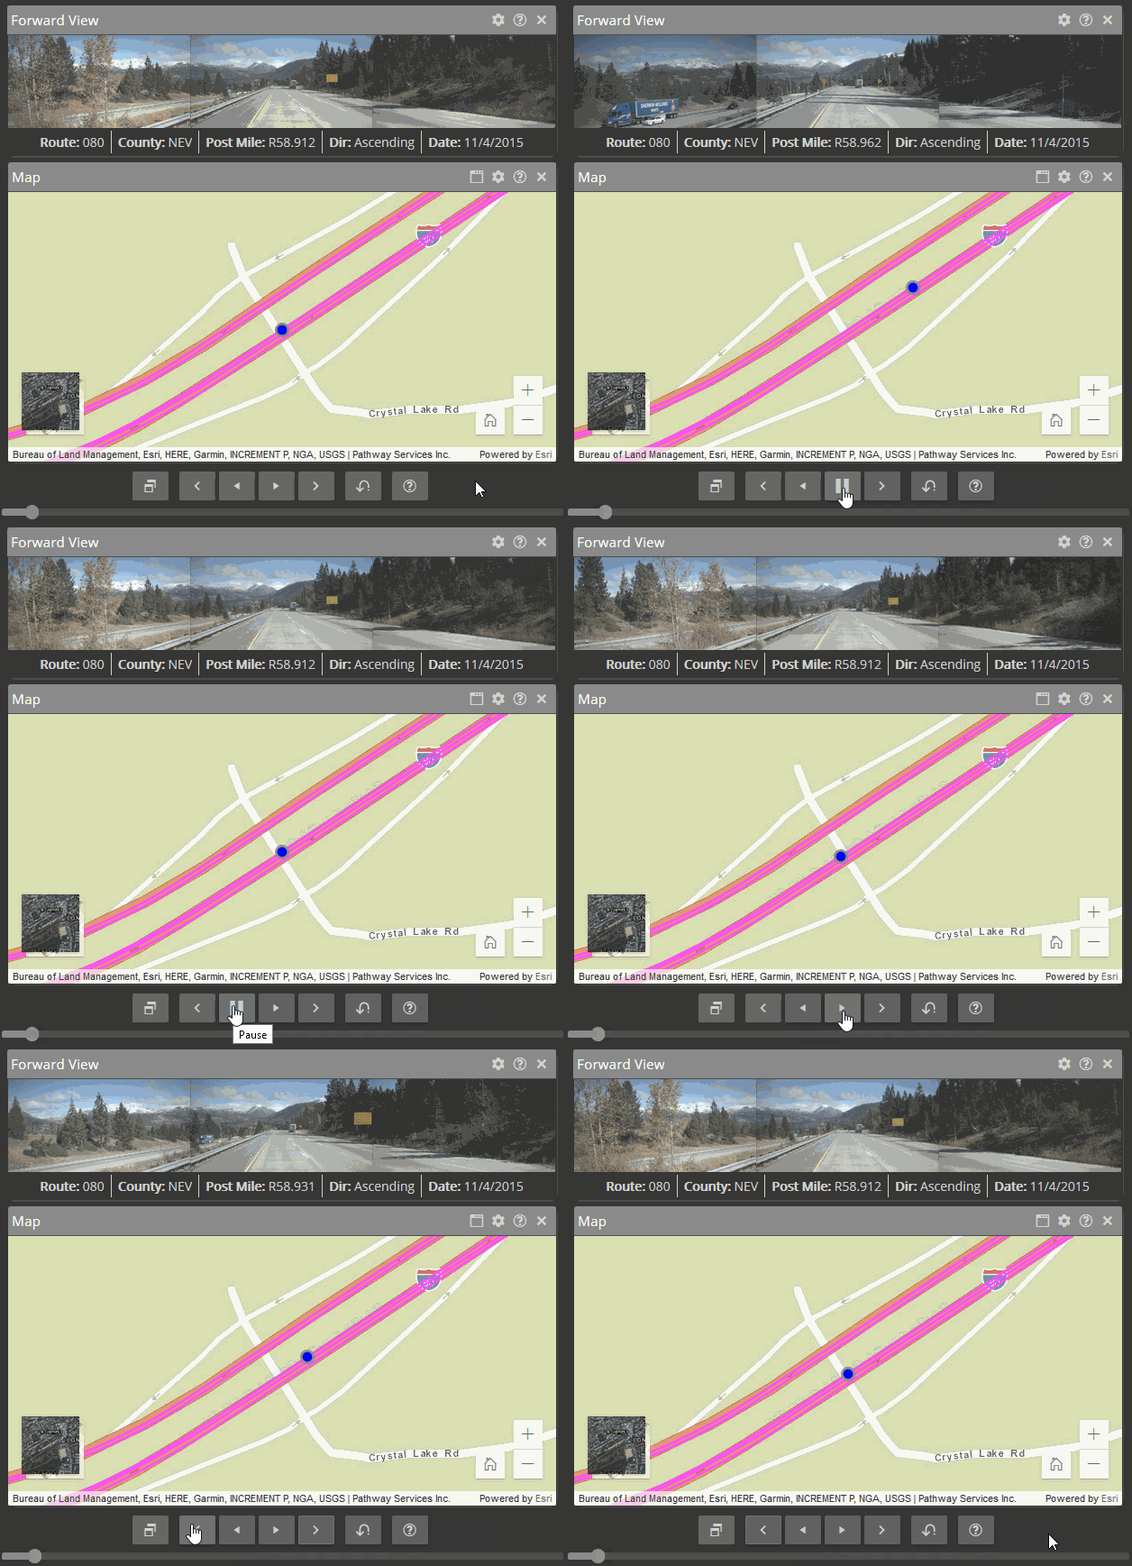
To move forward and backward, use the arrow buttons at the bottom of the screen. The outermost buttons step forward or backward by one image. The innermost buttons are continuous play / pause buttons.
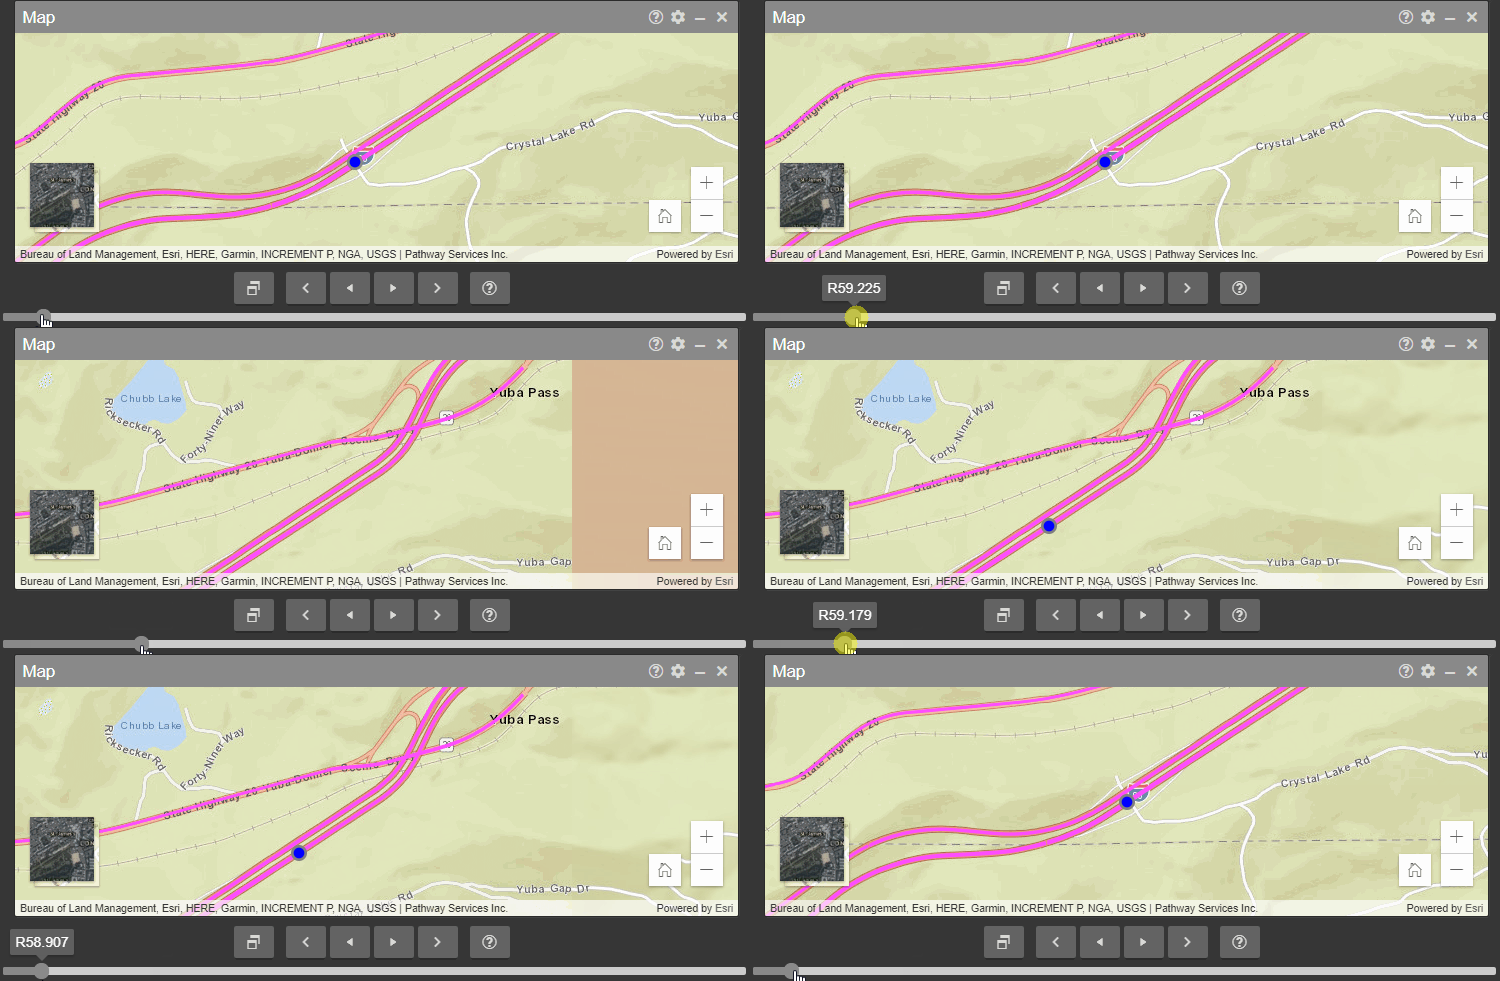
You can also quickly jump from one location to another using the location slider at the bottom of the screen. A popup will show you the mile post / linear reference point.
If you would like to quickly turn around and view images on the other side of the road, you can use the Turn around button to do so.
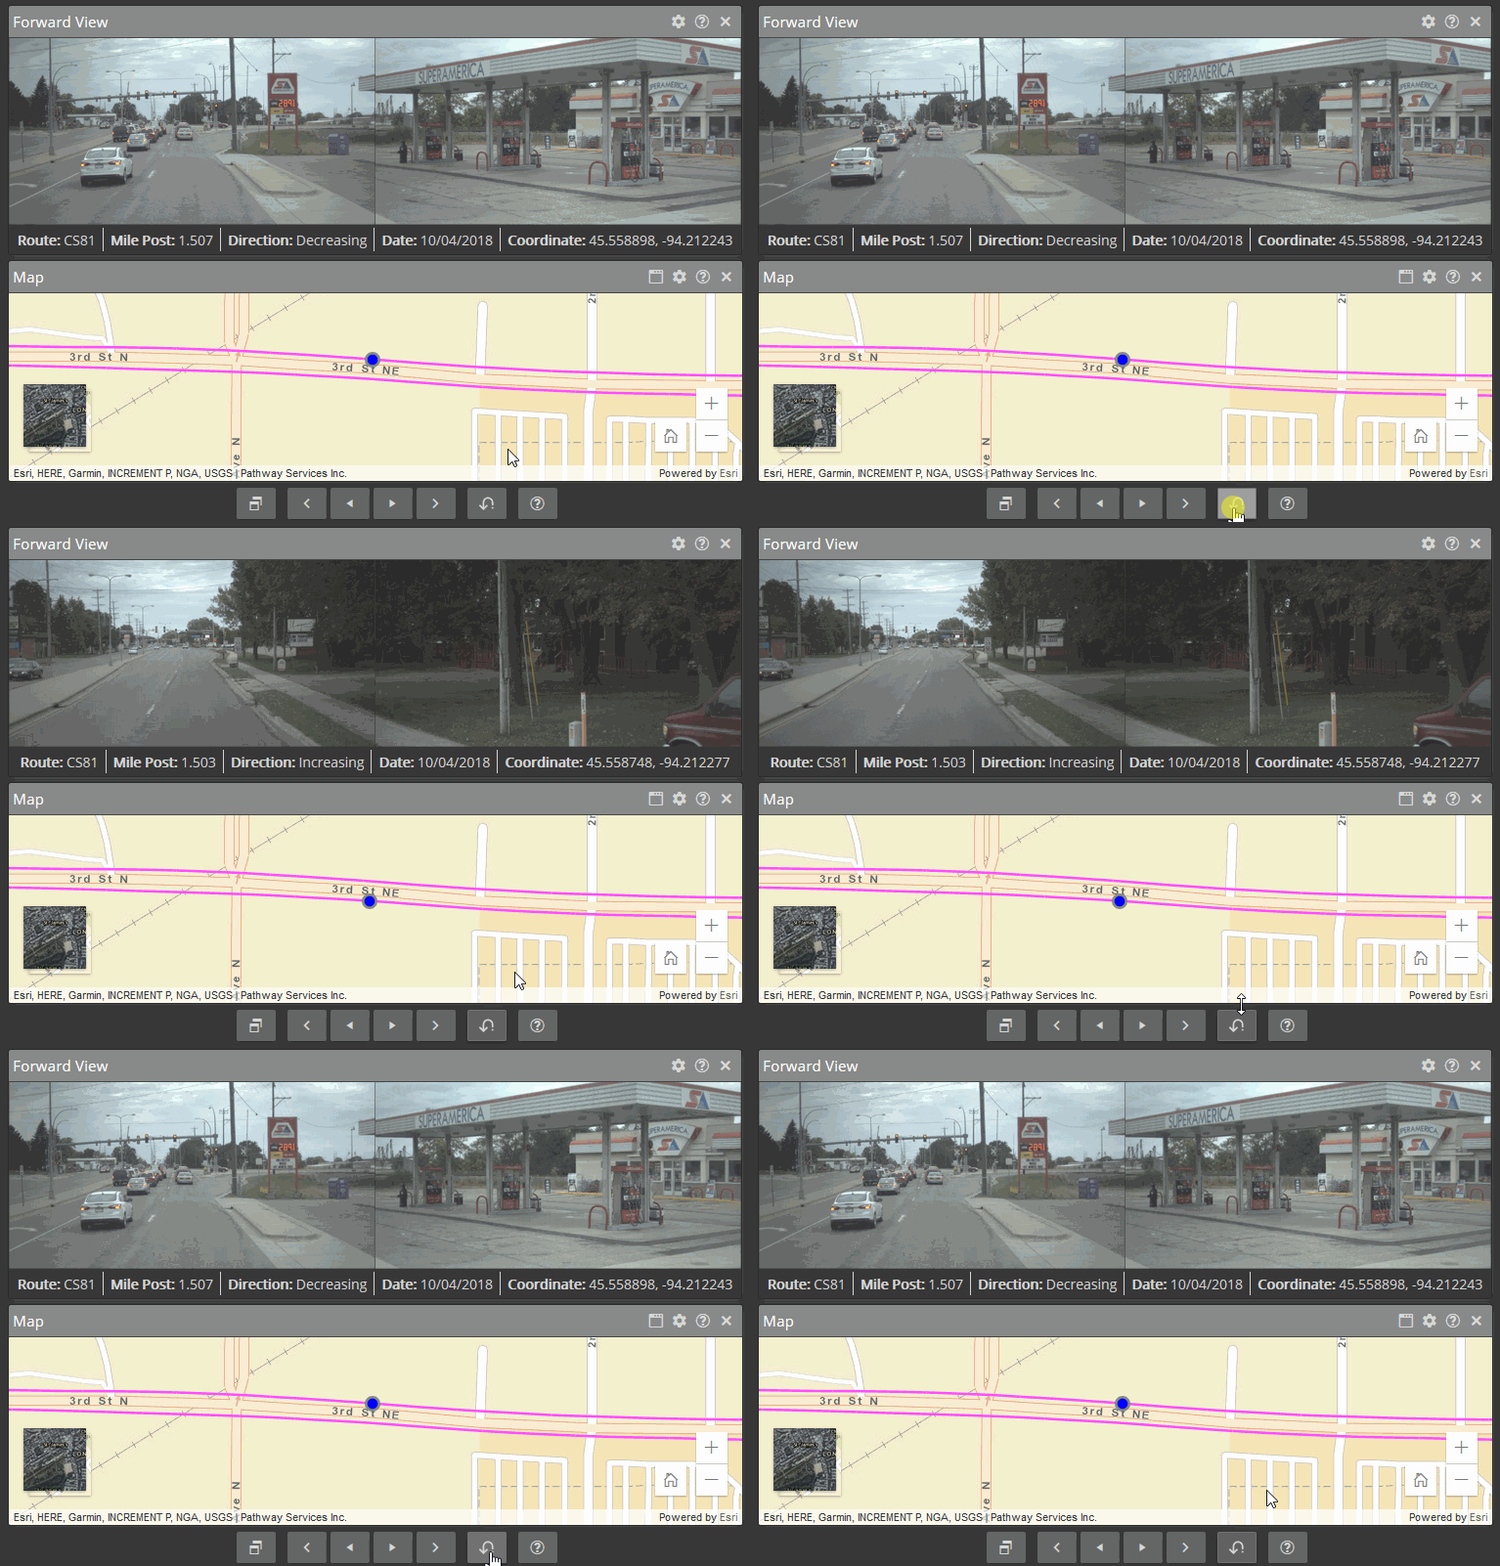
This only works when:
If you have a mouse wheel, you can zoom in on images. Just move your mouse over the image and scroll in and out with the mouse wheel. While zoomed in, you can move around in the image by clicking and dragging with your mouse.

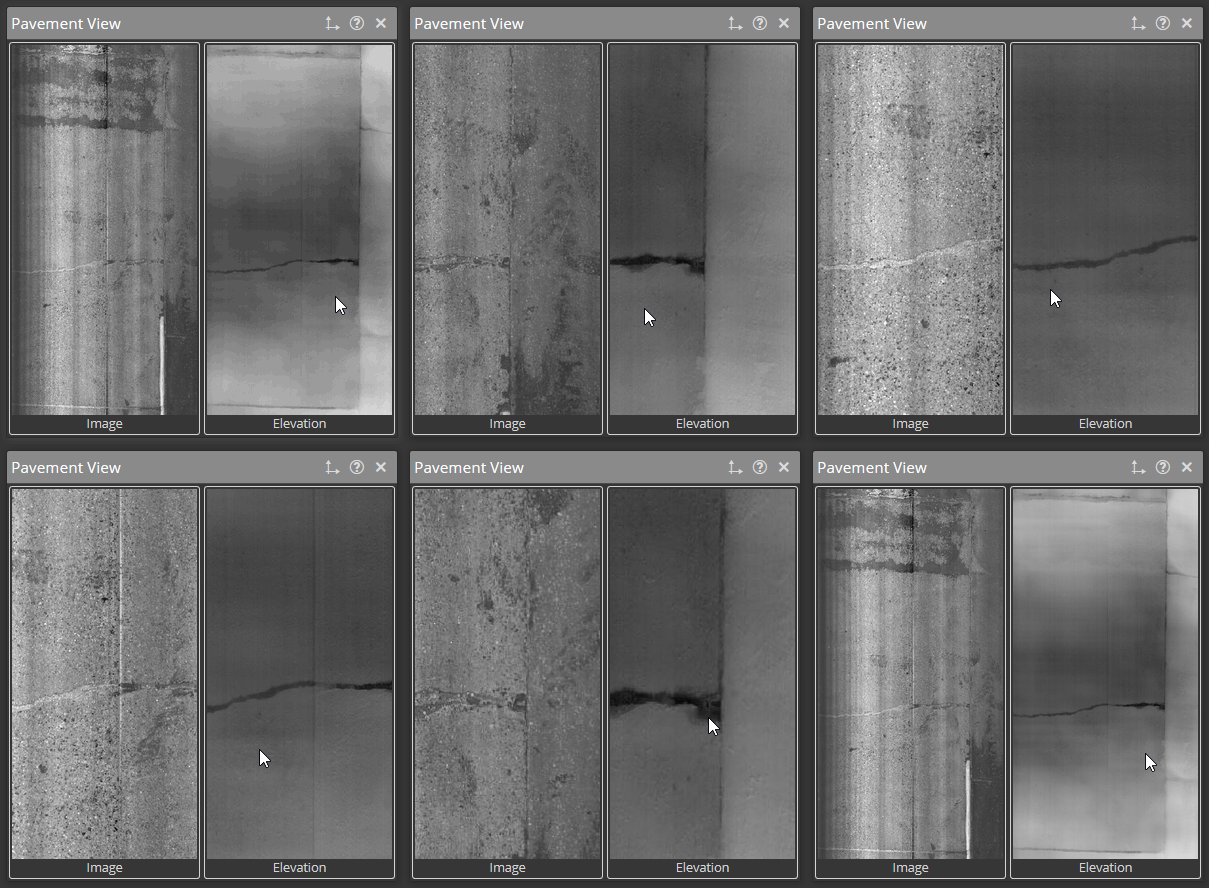
If your organization has a Pathway3D camera, zooming works a little differently for the Pavement View window. Since the two images are showing the same pavement, the two images are synchronized. Moving around in one image will cause the other to move as well.
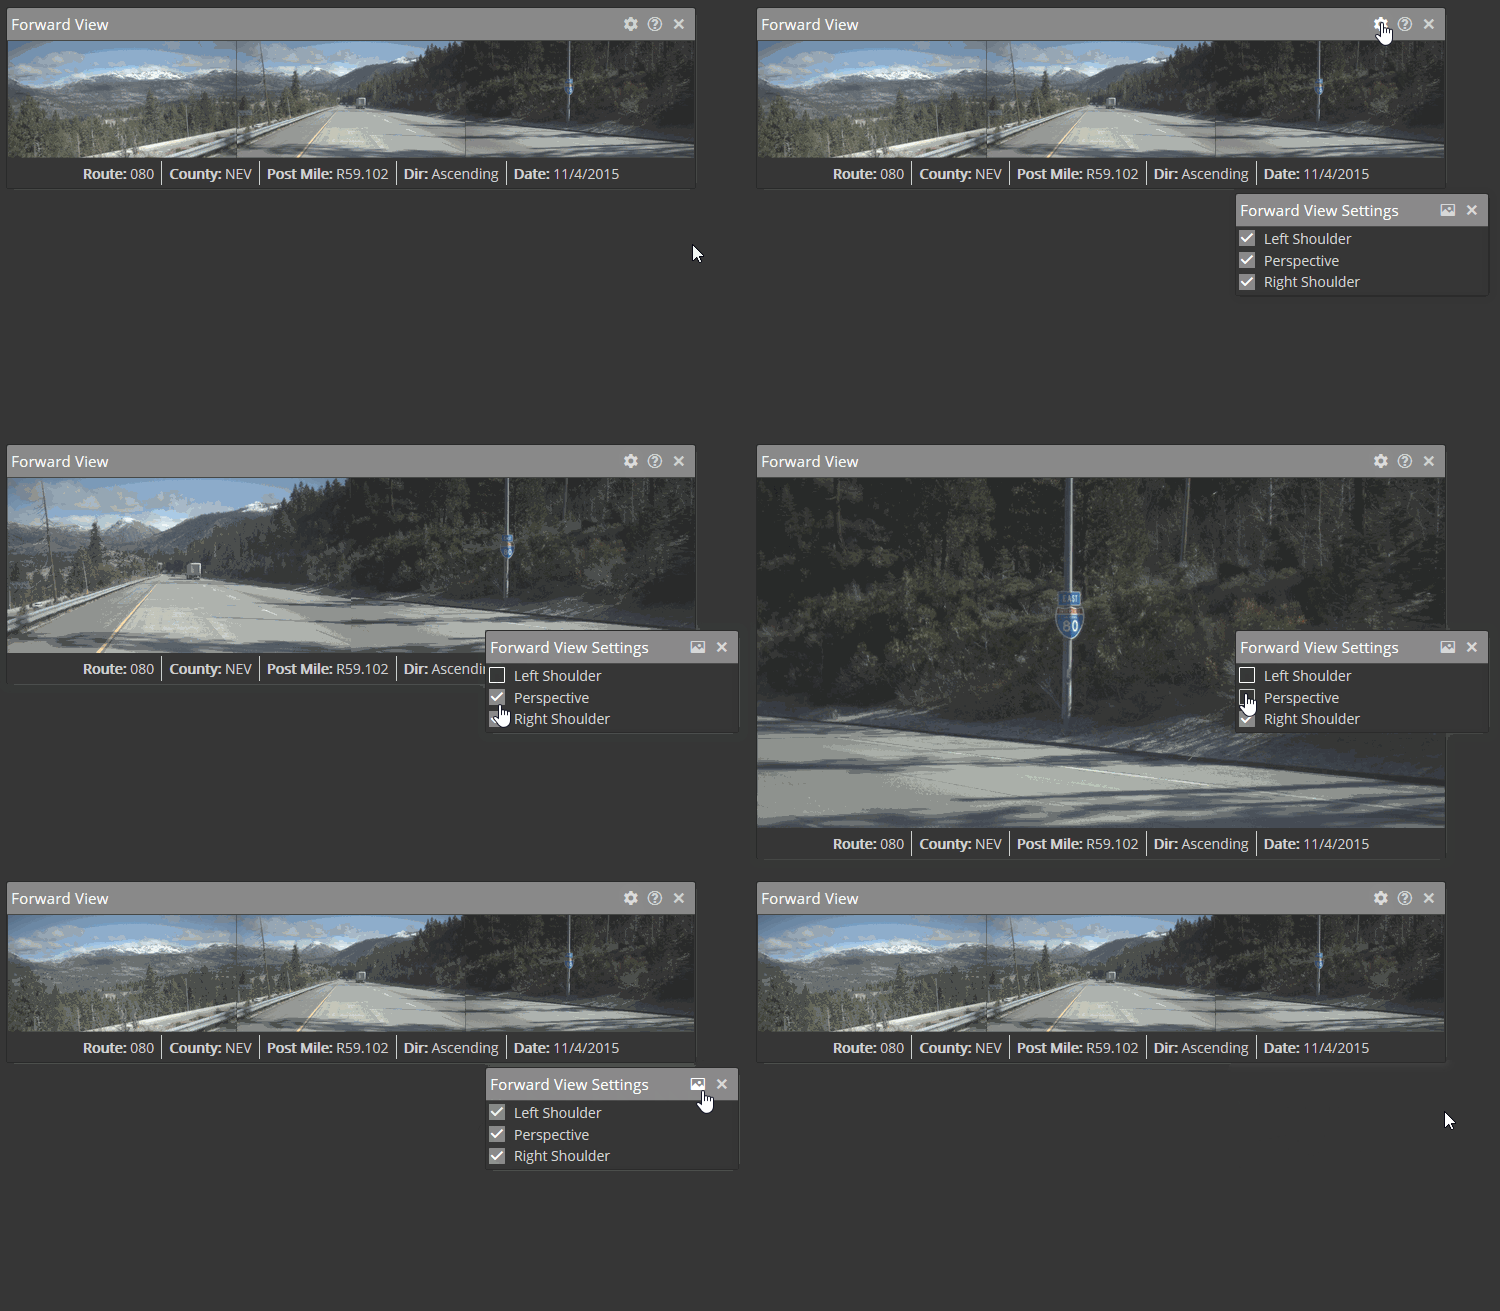
The Forward View window can display 1 to 3 forward-facing camera images side-by-side, depending on your PathRunner vehicle configuration. If you’re not interested in certain camera images, you have the ability to “turn off” those images in the camera view settings window. Click the gear icon in the Forward View window, and a settings window will appear. There you can turn off whatever images you like:
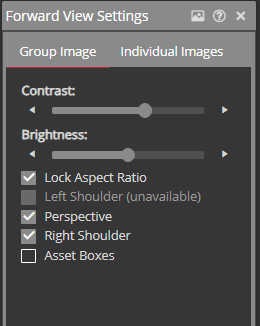
If the PathRunner vehicle is not equipped with a particular camera, or images are missing in the current location for some reason, you will see that camera setting disabled and marked as “unavailable.”
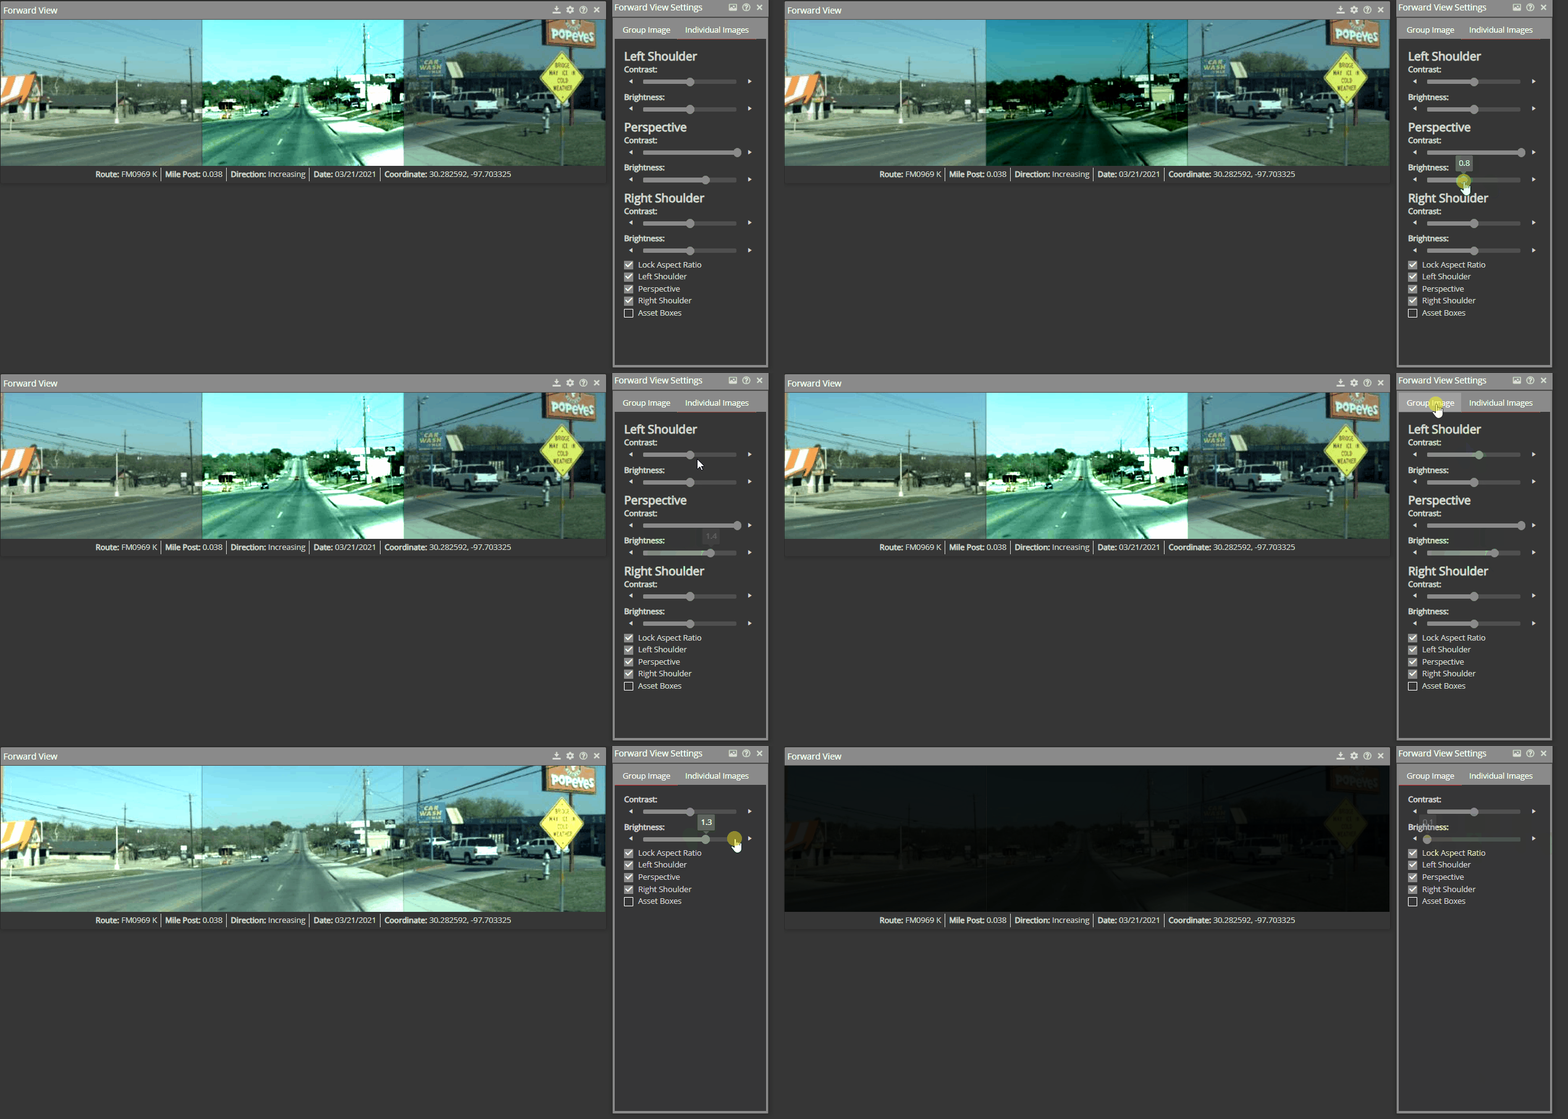
You also have the ability to adjust the brightness and contrast of the full group of images or each individual image separately:
The Playback Settings window’s Skip setting allows you to skip a certain number of feet when moving forward or backward.
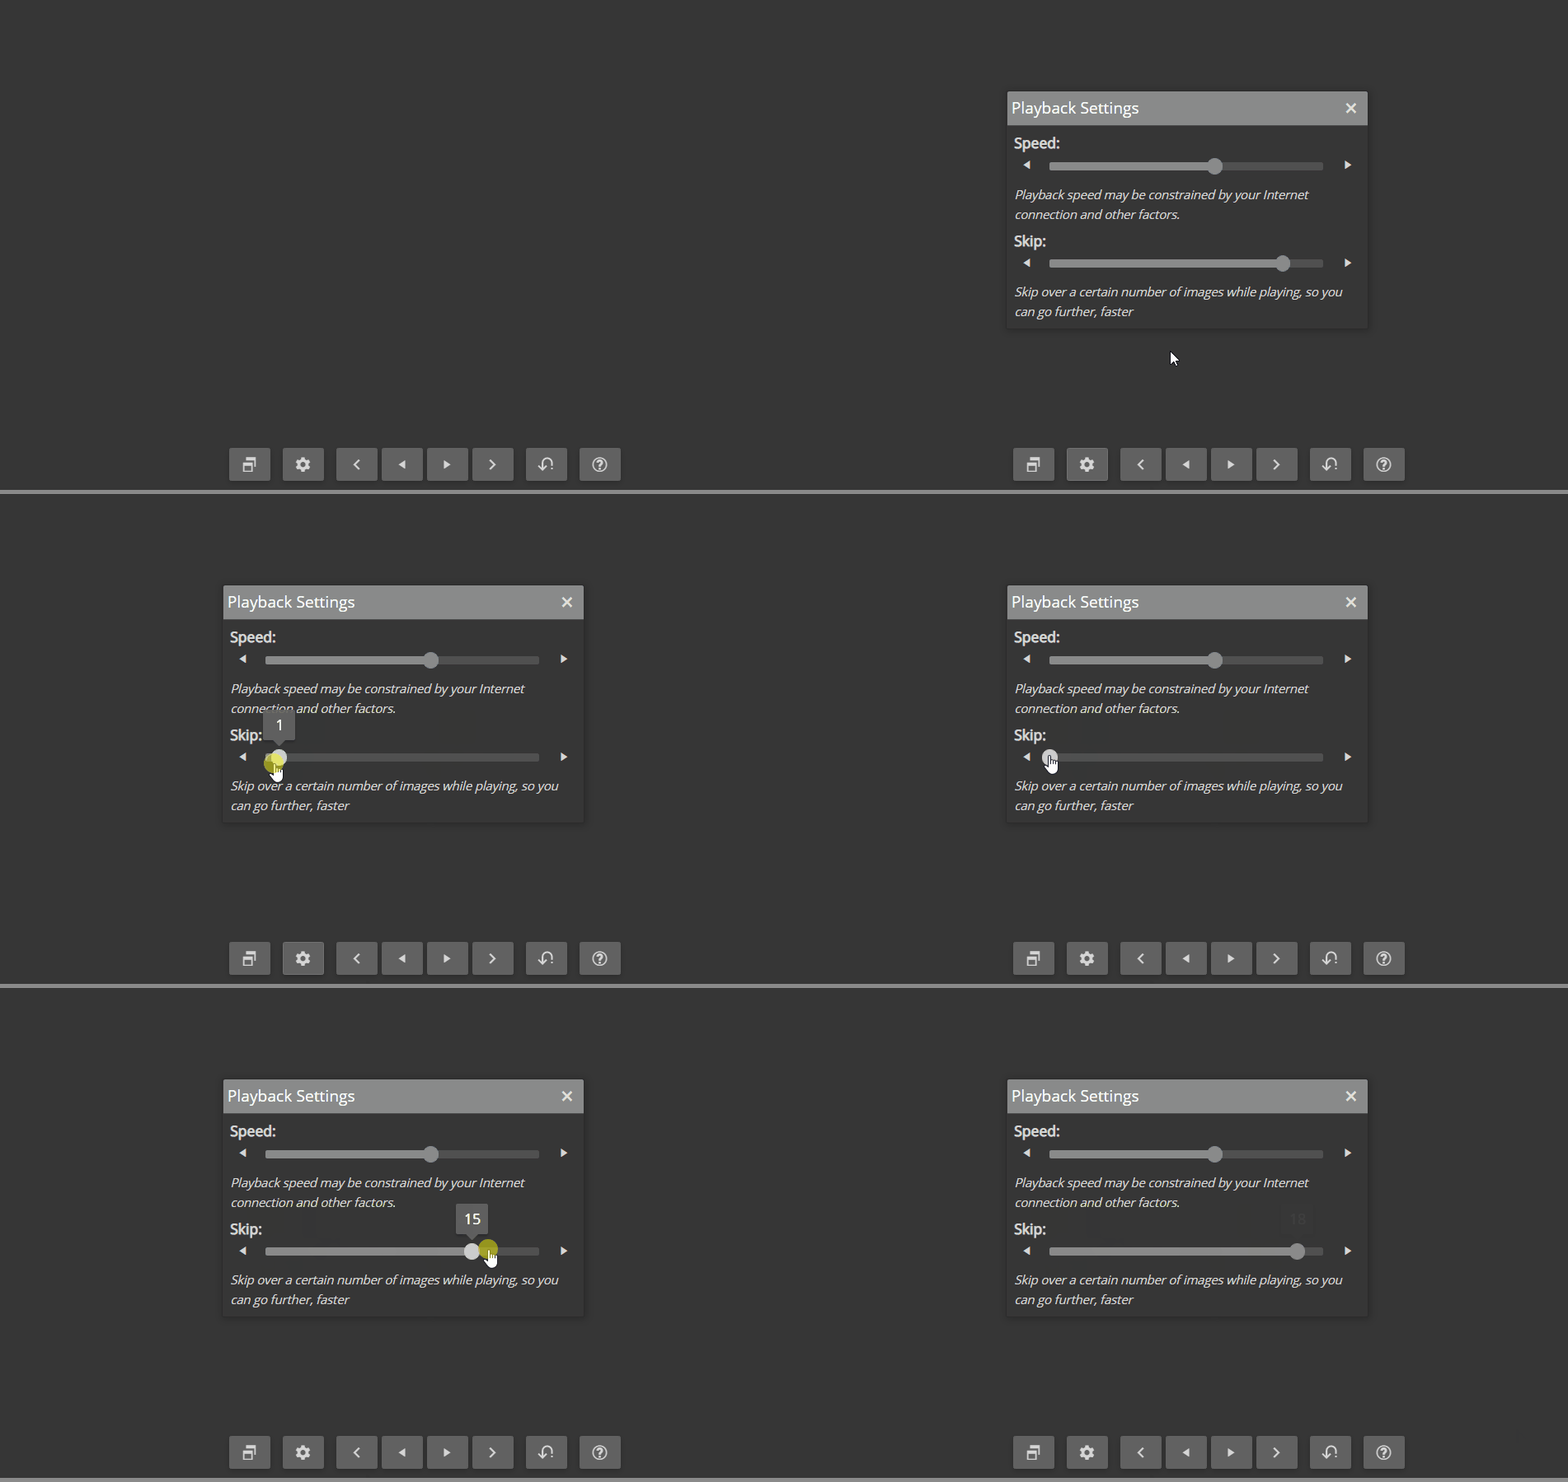
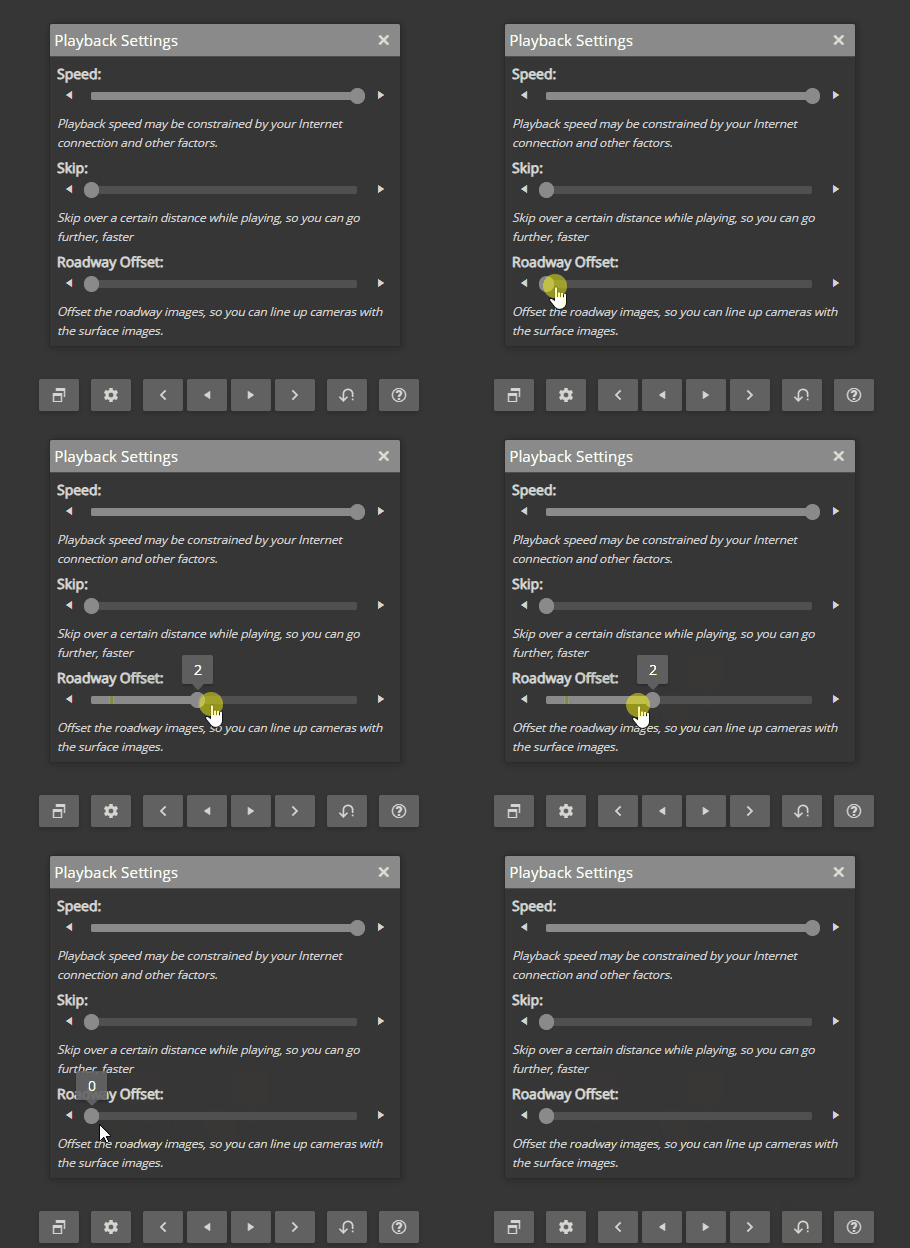
The Playback Settings window’s image offset setting allows you to offset the roadway images a certain number of images so that you can see the what the road looks like in the forward facing cameras at the same time as the surface images.
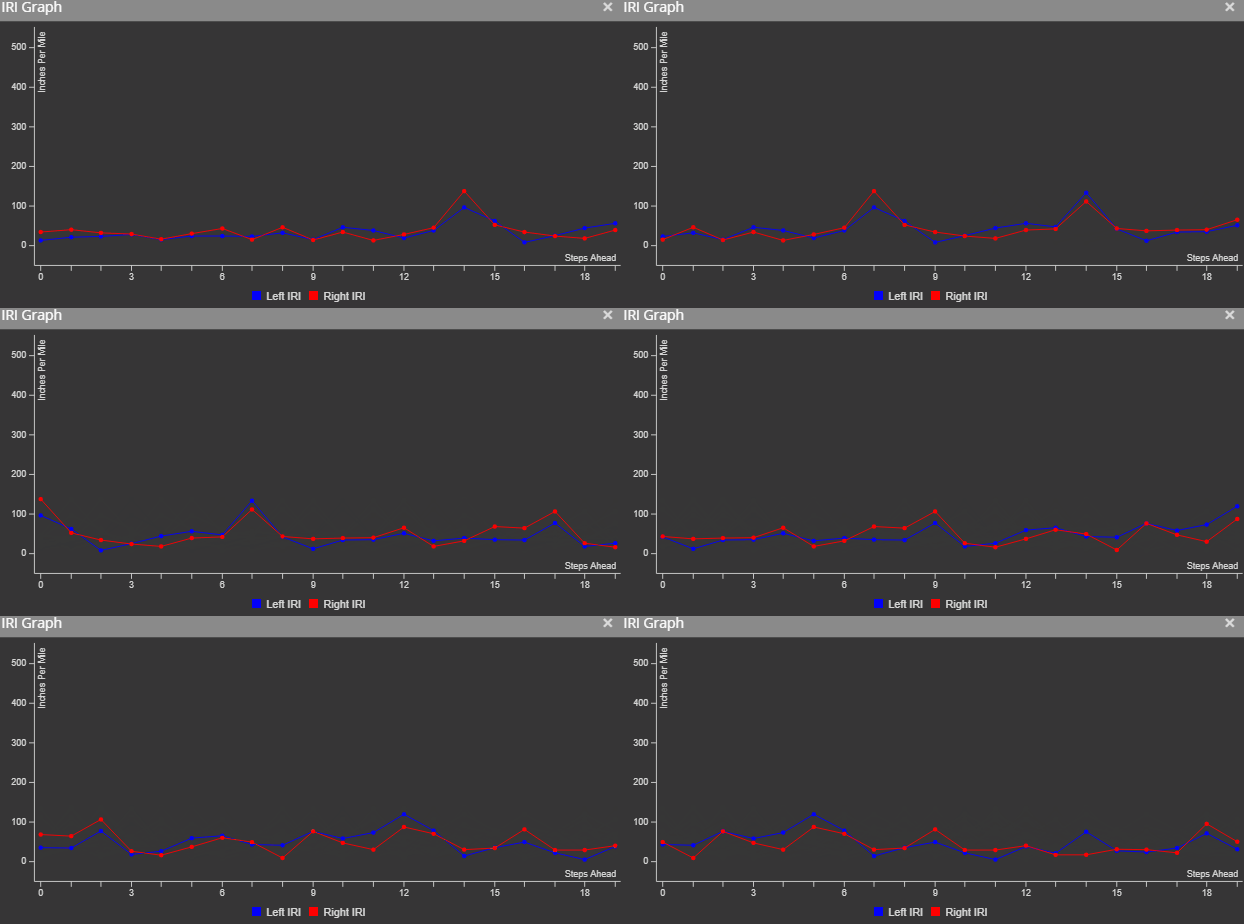
The IRI Graph displays left and right IRI values for the current location as well as upcoming locations on the current road section
