
PathWeb is an application designed to get road network data into your hands as effortlessly as possible. Here you can learn how to get started using PathWeb.
To get started, select a cycle from the cycle drop-down box:

A “cycle” is just a collection of routes. Your administrator chooses what cycles are available and what routes are contained in each cycle. Generally one cycle will represent one year’s worth of data, but this is not necessarily the case.
There are two ways to find a route: the map, and the Find Road Section dialog.
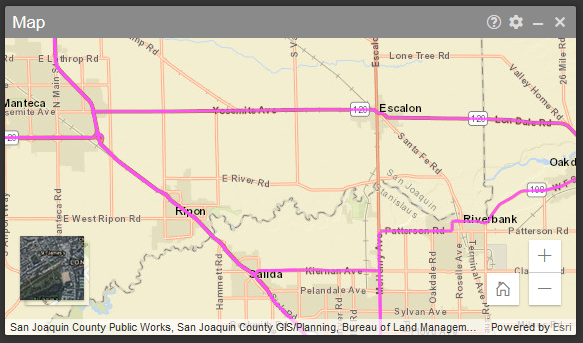
Once you’ve selected a cycle, the map should display all the routes you have available.

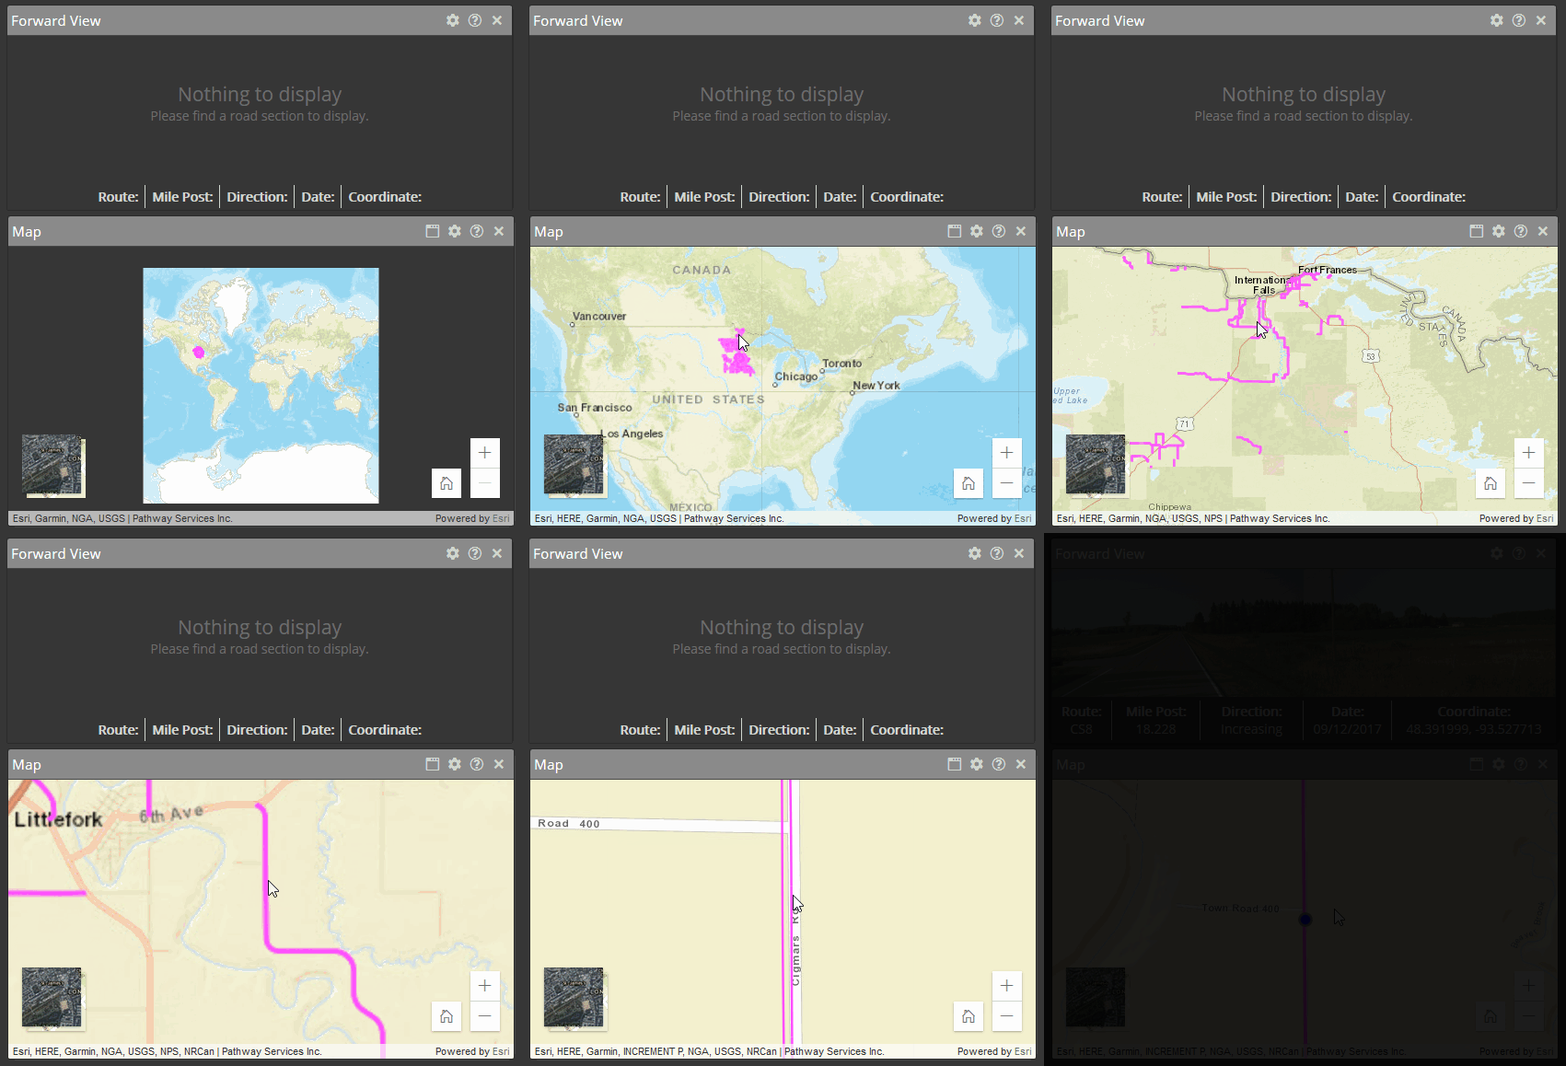
You can click and drag the map to move it around. If you have a mouse wheel, you can use it to zoom in and out. If you don’t have a mouse wheel, you can use the + and - buttons on the bottom right corner of the map to zoom. You may need to move or zoom in order to see what routes you have available to look at.
Once you have found the location you’re interested in, you can click on the colored line and PathWeb will take you to that location.

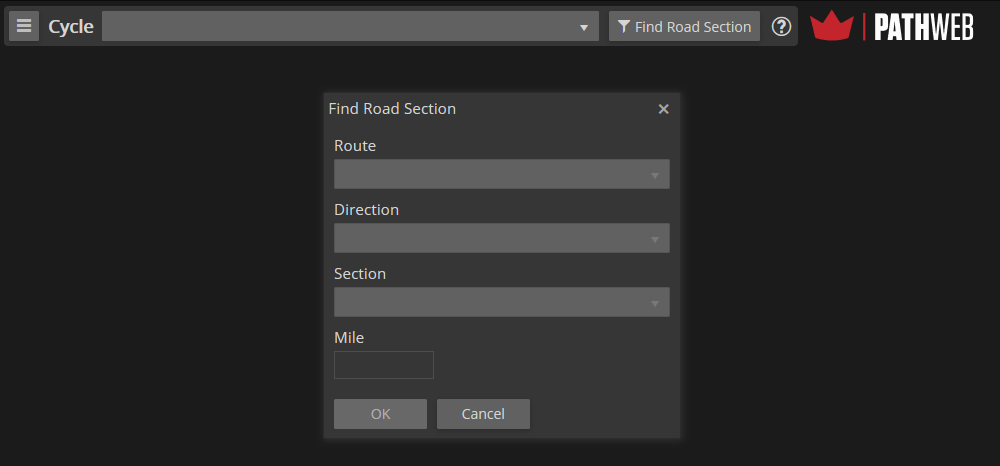
If you don’t know where the route is geographically, but you do have information about the route, then you can probably find it in the Find Road Section dialog. Click on the Find Road Section button next to the Cycle dropdown box:

A dialog will pop up with several drop-down boxes. It may look something like this:

In this example, you would need to select the Cycle from the top dropdown box. Then PathWeb will allow you to select the Route, Direction, and then the specific Section you are interested in. After you have selected the section you’re interested in, click OK and you will be taken directly to it.