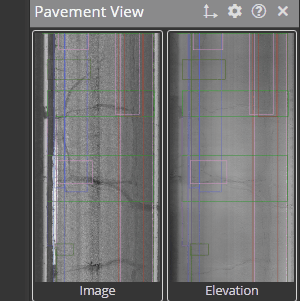
If your organization uses a Pathway3D pavement camera, you will have a Pavement View window that displays images like this:
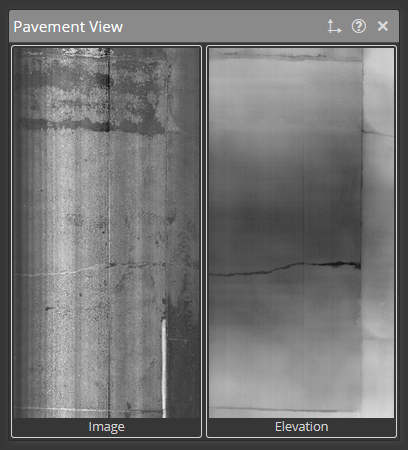
The Image side shows you what the pavement looks like as you would expect from a normal black-and-white camera. The Elevation side shows you the elevation of the pavement. Dark areas are deeper areas (like the bottoms of cracks and potholes) and bright areas are higher areas (like patches or debris).
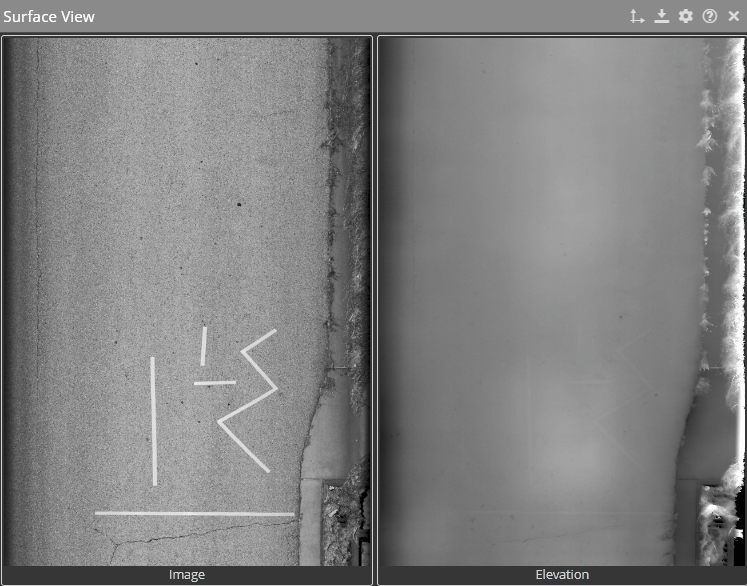
3D images also allow you to view transverse profiles of the pavement.
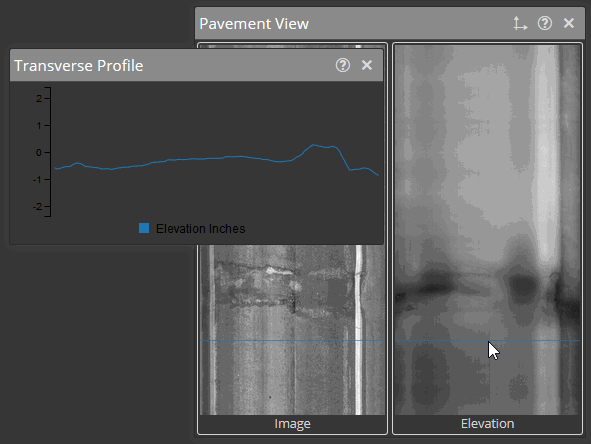
If you’re not familiar with transverse profiles and 3D pavement images, it’s best explained with an example. Remember that the dark places on the Elevation image represent “low” places on the pavement:
![]()
As the mouse hovers over the image, you can see a blue line stretching to the left and right. This blue line runs over two low spots: one closer to the left edge of the lane (highlighted in red), and one closer to the right edge of the lane (highlighted in yellow). You can see the depth of those two spots in the transverse profile window, highlighted with the same color.
A feature of the 3D pavement window is the ability to view distresses.
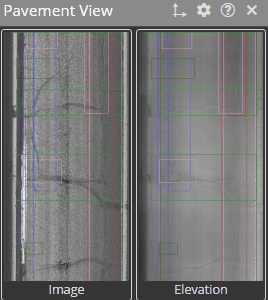
Hovering over a distress in the window will give information about the distress.
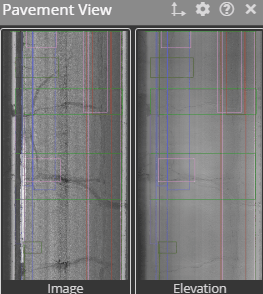
Users have the ability to also toggle distresses on either the “Image” or “Elevation” section of the Pavement View Window.
A feature of the 3D pavement window is the ability to draw a line for an approximate measurement.
Single left click will start a measurement, or add a point to an in progress measurement.
Double left click while a measurement is in progress will add a point and complete the measurement.
Single right click while a measurement is in progress end the measurement at the last recorded point.
Single right click after completing a measurement will clear the measurement from your screen.
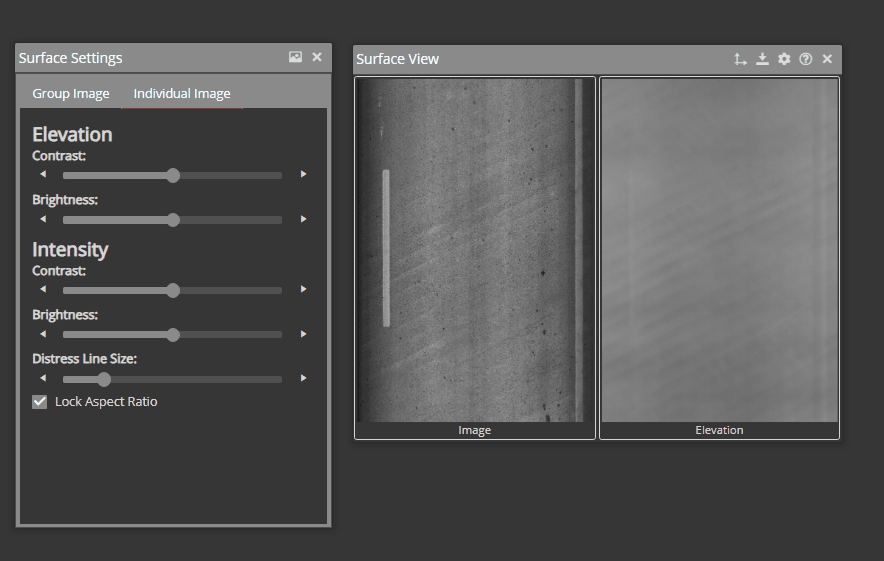
Users have the ability to adjust brightness and contrast of surface images as a group or individually: